
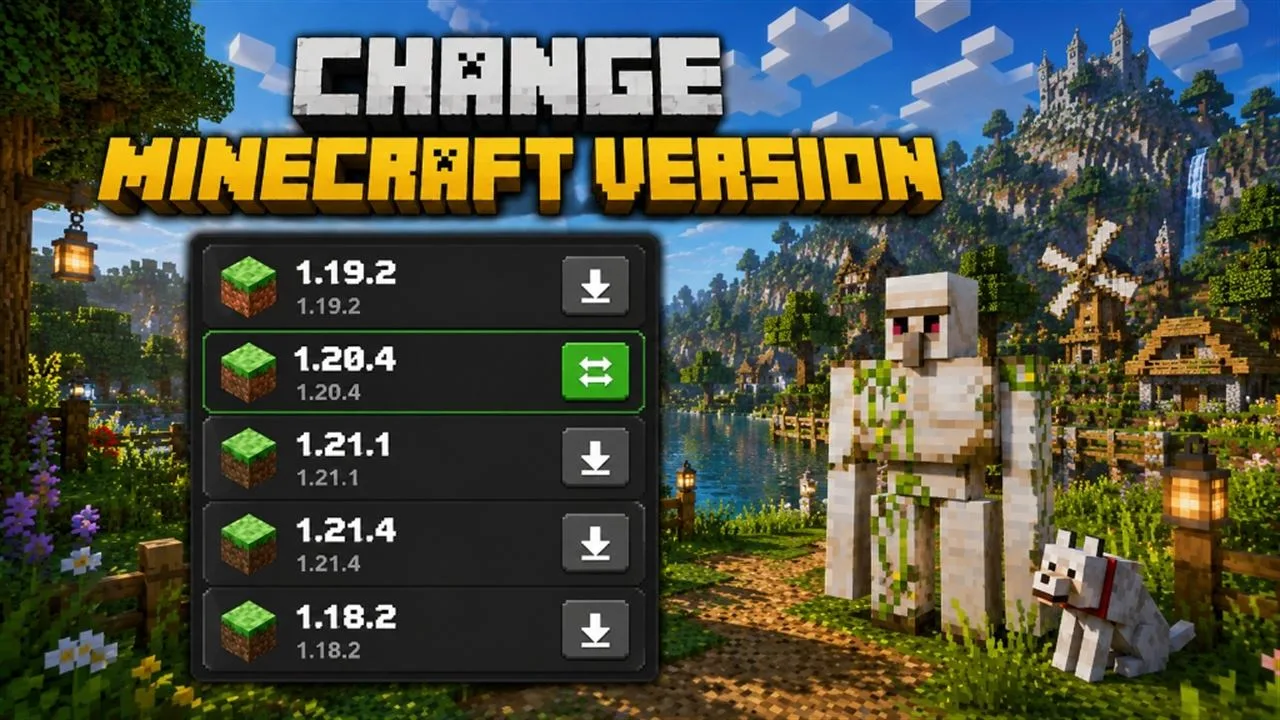
Whether you want to play on the latest Minecraft update or downgrade your server to run older mods and custom maps, changing your Minecraft server version is a simple task on a Pterodactyl panel. In this guide, we will show you how to securely change your server version in just a few steps, along with troubleshooting common Java mismatch errors.
Step-by-Step Guide to Changing Minecraft Version
Please make sure to back up your world folders before updating or downgrading, as downgrading a newer world version can cause map corruption. Follow these steps:
Turn Off Your Server
Log in to your server dashboard and stop your Minecraft server from the console. Ensure that the server is completely turned off to avoid disruptions during the reinstallation process.
Navigate to Startup Section
On the left sidebar menu within the Pterodactyl dashboard, click on the Startup tab.
Change Minecraft Version
Locate the environment variable option named MINECRAFT VERSION. Change the value from latest (or your current version) to your desired version (e.g., 1.20.1 or 1.16.5).
Reinstall Your Server
Proceed to the Settings tab in the menu. Click on it, then select Reinstall Server from the options presented. A confirmation popup will appear. Click Yes to initiate the server reinstallation process. (Note: Reinstalling downloads the new jar file, but it will not delete your world files unless specified).
Boot the Server
Head back over to the console dashboard. Once the reinstallation is complete, click Start to boot up your server with the new Minecraft version.
Troubleshooting: Unsupported Java Errors
Minecraft versions are tightly bound to specific Java Runtime Environments (JRE). If you update to a new version or downgrade to an old one, the server may crash on boot showing an error like:
Unsupported Java detected (61.0). Only up to Java 16 is supported.
If you encounter this error, follow these additional steps to fix the Java version in Pterodactyl:
- Check the Java version requested by the error message (for instance, if it mentions Java 16, Java 17, or Java 21).
- Return to the Startup tab of your server panel.
- Locate the option labeled DOCKER IMAGE.
- Click the dropdown menu and select the appropriate Java Docker image matching the required version (e.g., choose a tag containing
java_16orjava_17). - Once selected, your configurations are updated. Head back to the Console and click Start. The Java version issue will be resolved!
Frequently Asked Questions
Will my worlds get deleted when I reinstall?
No. Reinstalling updates core files like the server JAR (Paper, Purpur, Spigot, etc.). It does not delete your world directories (world, world_nether) or configurations unless you manually wipe them. However, backing up your files before reinstallation is always recommended.
Which Java version does Minecraft need?
Here is a quick reference for Minecraft versions and their required Java releases:
- Minecraft 1.20.5+: Java 21
- Minecraft 1.18 - 1.20.4: Java 17
- Minecraft 1.17: Java 16
- Minecraft 1.16 and below: Java 8 or Java 11
Extreme Game Server Infrastructure: Single-Thread Dominance
Minecraft and modern game servers rely strictly on a single thread for their primary game tick loop (20 TPS). Multi-core low-frequency server CPUs fail to prevent tick lag during heavy redstone, mob spawning, or chunk loading. SkyRainCloud deploys flagship AMD EPYC Enterprise compute nodes operating at up to 3.7 GHz High Frequency single-core boost clock with DDR5 ECC RAM and Pterodactyl panel management.
AMD EPYC Single-Core
Flagship AMD Zen 5 single-thread frequency guarantees steady 20 TPS across high-density SMPs and heavy modpacks.
India Domestic Ping
Tier-3 Mumbai & Noida game nodes eliminate player rubberbanding, combat delays, and hit-registration lag.
Game-Shield DDoS
Custom Layer 4/7 filters absorb Minecraft ping floods, UDP reflection, and bot connection swarms without kicking players.
Performance Comparison: SkyRainCloud vs Competitor Game Hosts
| Evaluation Criteria | SkyRainCloud AMD EPYC Node | Competitor Shared Game Hosts |
|---|---|---|
| CPU Clock Frequency | AMD EPYC Enterprise (3.7 GHz High Frequency Boost, Zen 5) | Older Xeon E5 / AMD EPYC Milan (2.2 - 3.4 GHz) |
| Server Panel | Pterodactyl Panel (1-Click Modpacks, Backups, SFTP) | Clunky Multicraft or Restricted Proprietary Panels |
| DDoS Protection | 2+ Tbps Game Shield (UDP & Handshake Filter) | Basic Null-Routing (Server Drops Offline When Attacked) |
| RAM Architecture | DDR5 5600 MT/s ECC High-Bandwidth Memory | DDR3 / DDR4 Shared Non-ECC Memory |
| Pricing & Billing | From ₹99/mo (Instant UPI, Paytm, GPay, Zero Forex) | $7.50+/mo in USD with International Card Forex Penalties |
Deploy India's Highest Performance Cloud Infrastructure
Instant automated activation in under 60 seconds with instant UPI / Net Banking & 18% GST invoices.
📚 Recommended Reading
🚀 Explore Our Services
- • Minecraft Server Hosting — AMD EPYC nodes from ₹79/mo
- • Game Server Hosting — Minecraft, modpacks & more
- • KVM VPS Hosting — Intel Xeon & AMD EPYC from ₹649/mo
- • Windows RDP Hosting — Full admin access from ₹999/mo
- • Hosting Tools & Calculators — Minecraft RAM Calculator, VPS Builder, Server Status Checker